Photo box setup guide · reviewed August 6, 2026
A product photography light box is useful when consistency matters more than drama.
Choose enough space, soften the light, control reflections, and keep the background replaceable so the box remains a tool—not a visual limitation.
Quick answer
What is a product photography light box?
A product photography light box is a small enclosure with diffused light and a replaceable background. It helps create even, repeatable images of products that fit comfortably inside, especially when a seller lacks permanent studio space or must photograph inventory in batches.
A light box is not automatically better than a window or softbox. It can flatten texture, create difficult reflections, restrict camera angles, and leave too little space around the item. The right choice is large enough for the product, camera view, shadows, and working distance—not just the product dimensions.
Platform rules and interfaces can change. Use the linked primary sources as the final authority, then test the result in the marketplace or storefront you actually use.
Choose the box
Buy for working space, not the external dimensions.
Measure the largest product plus the negative space required for the final crop. Allow room to rotate the item, move the camera, raise the product, and keep the background outside the frame. A cramped box makes perspective and reflections harder to control.
Look for removable diffusion, several shooting openings, replaceable seamless backgrounds, high color-rendering lights, dimming, and enough structure to keep panels flat.
- Interior shooting volume
- Diffusion and light placement
- Color consistency and dimming
- Camera openings and background options
Set it up
Create shape with direction instead of flooding every surface.
Start with one dominant side or top light and add fill only where detail disappears. Move or remove diffusion panels when a textured product looks flat. Use white cards for fill and black cards to define pale, metallic, or glossy edges.
Keep the camera stable, use manual exposure and white balance, and mark repeatable product positions. Clean the background and product between items because small dust becomes obvious in high-resolution catalog images.
- One dominant light direction
- Controlled fill rather than total flatness
- Black cards for reflective edge definition
- Fixed camera and product markers
Know the alternative
A table, large soft light, and sweep can be more flexible.
For larger, reflective, transparent, or highly textured products, an open tabletop setup offers more control over source size, angle, flags, camera height, and background distance. A window and foam board can also outperform a small inexpensive light box when natural light is consistent enough.
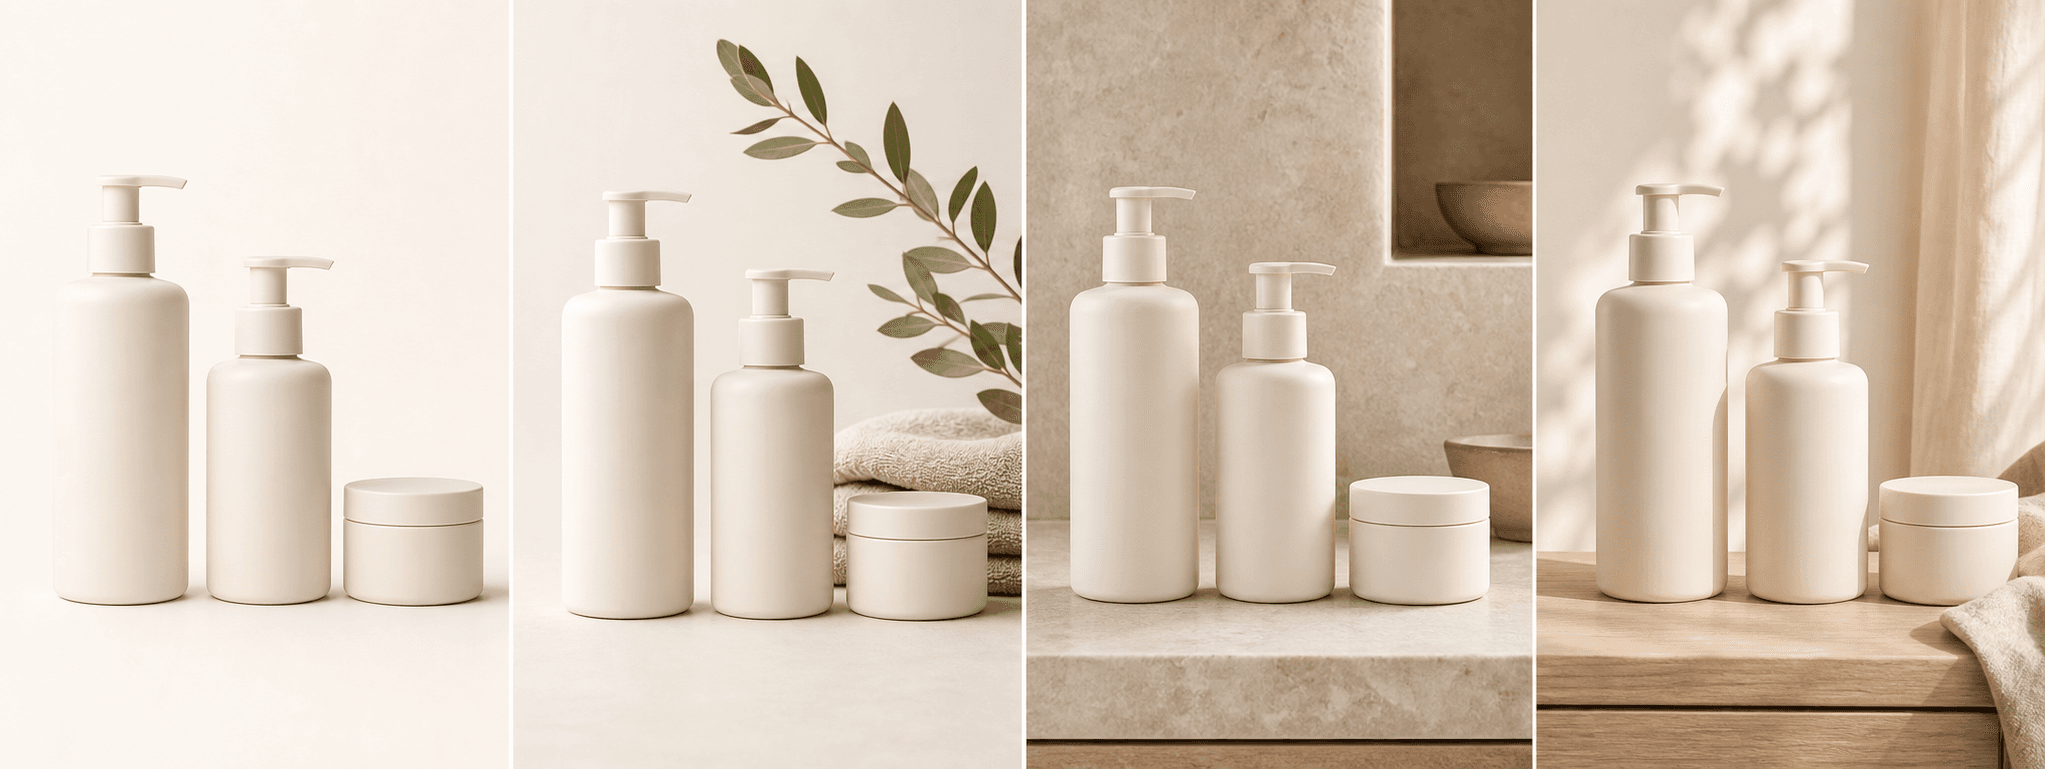
Use a light box for repeatable factual captures, then create separate real or reviewed AI lifestyle scenes when the product needs context.
A light box should simplify your recurring capture. If every product requires fighting the walls, openings, and reflections, use an open setup instead.
Before you publish
Product photo light box checklist
Use this before buying and before each batch.
- The interior leaves enough negative space and camera working distance.
- Lights are diffused, dimmable, and color-consistent.
- Backgrounds are seamless, clean, matte, and replaceable.
- The product retains texture, edge definition, and natural shadows.
- Glossy and metallic reflections can be shaped with cards or flags.
- Camera, exposure, white balance, and product positions are repeatable.
Primary references