Practical lighting guide · reviewed August 5, 2026
Product photography lighting that reveals the real material.
Start with one large soft source, control the shadow side, and make the setup repeatable across the catalog.
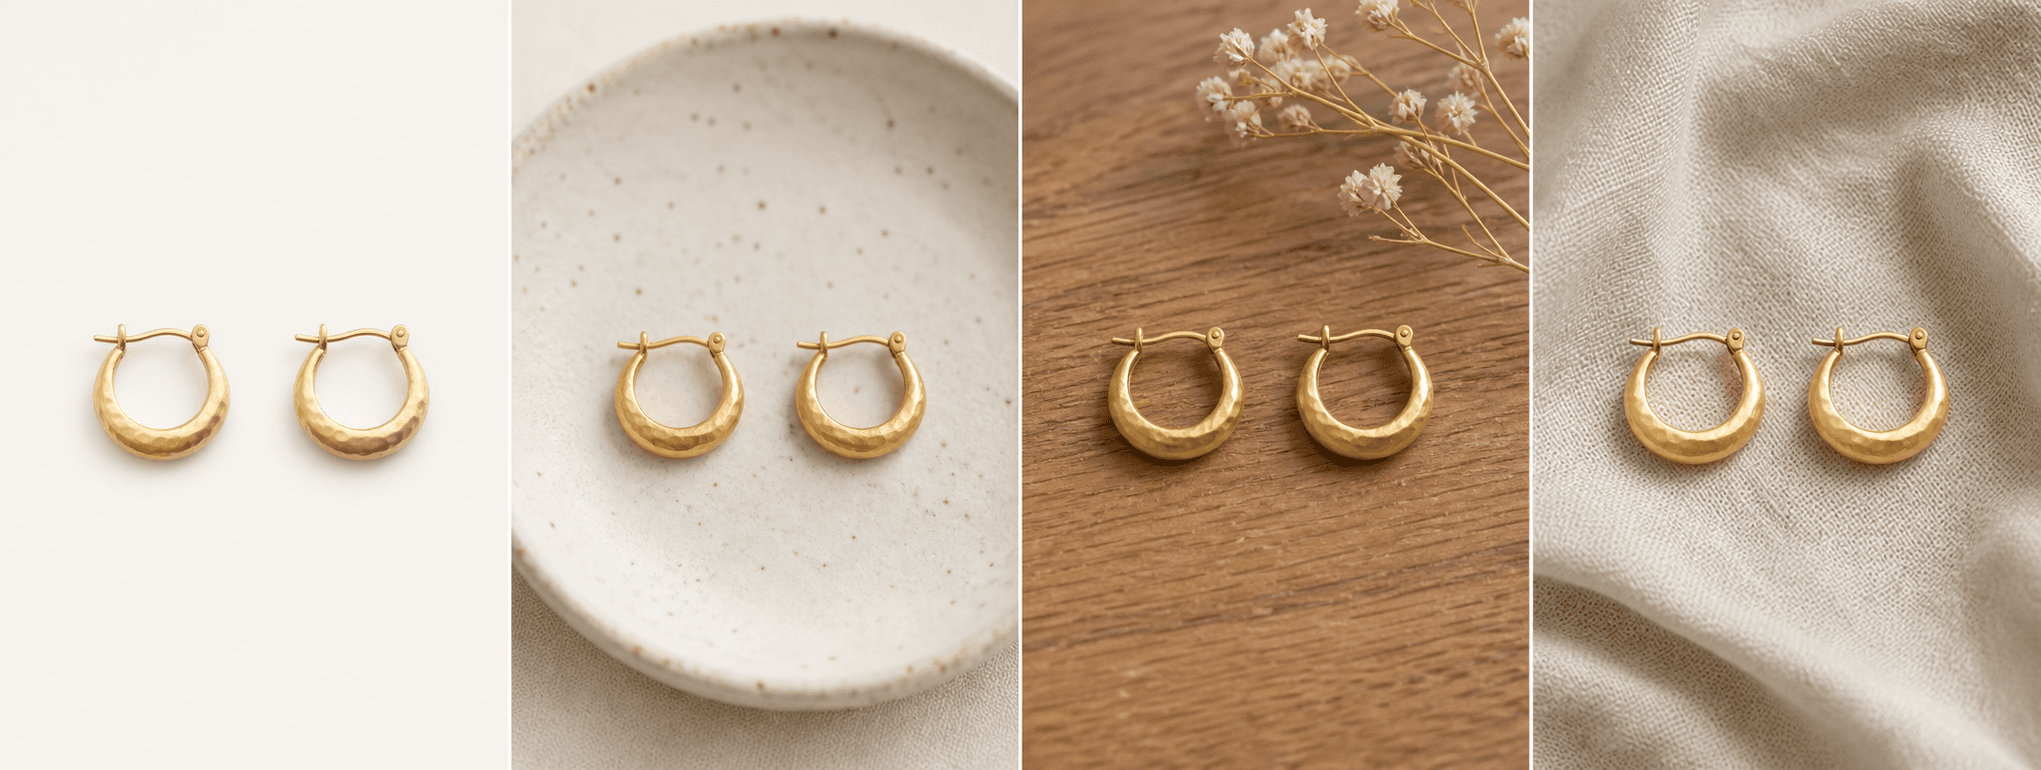
Quick answer
What is the simplest product photography lighting setup?
Use one large indirect window or diffused artificial light as the key, a white foam board opposite it as fill, and a stable camera. Move the product closer to the source for softer wraparound light or farther away for more contrast.
The goal is not to remove every shadow. It is to create controlled shape, accurate color, readable texture, and consistent exposure without clipping highlights or hiding important edges.
Platform rules and interfaces can change. Use the linked primary sources as the final authority, then test the result in the marketplace or storefront you actually use.
Build the base setup
Use one large source before adding more lights.
Place the product near a large window with direct sun diffused by a sheer curtain, or use a softbox larger than the item. Put white foam board on the opposite side and move it closer or farther to control fill.
Turn off room lights when they create mixed color temperatures. Set a stable white balance and keep the camera position fixed while adjusting the light and reflector.
- Large diffused key light at roughly 45 degrees
- White reflector opposite the source
- Black card when more edge contrast is needed
- Tripod or fixed support for consistent framing
Light the surface you have
Change source size and angle for each material.
Glossy packaging reflects the shape of the light, so use a larger diffuser and move reflections until labels remain readable. Textured ceramics and fabric benefit from directional side light that creates small shadows and reveals surface detail.
Transparent or translucent objects may need backlight or edge light. Metals often benefit from controlled black and white cards that define their form more clearly than adding another bright lamp.
- Glossy: enlarge and control the reflected source
- Textured: use gentle side light for micro-shadow detail
- Transparent: test backlight and clean edge separation
- Metal: shape reflections with black and white cards
Make it repeatable
Record positions, exposure, and color decisions.
Mark the product center, camera legs, light stand, and reflector position. Record distance, height, lens, exposure, and white balance so a replacement product can be photographed later without rebuilding the look from memory.
Inspect highlights, label sharpness, color, edge separation, and shadows at full size before moving the setup. A technically clean source image also makes later background editing or AI scene generation easier to review.
Consistency across a catalog is usually more valuable than a dramatic one-off lighting experiment.
Before you publish
Product photography lighting checklist
Check the light before changing camera settings or editing.
- The key light is large enough to create controlled transitions.
- Mixed room lighting and unwanted color casts are removed.
- Highlights retain detail and labels remain readable.
- The shadow side shows enough shape without becoming flat.
- Material texture and product edges are clear.
- Positions, exposure, and white balance are recorded for repeatability.
Primary references