DIY product photography · reviewed August 5, 2026
How to take product photos at home that are actually usable.
Build a simple window-light setup, capture one accurate hero image, and repeat the process across your catalog.
Quick answer
What do you need for product photography at home?
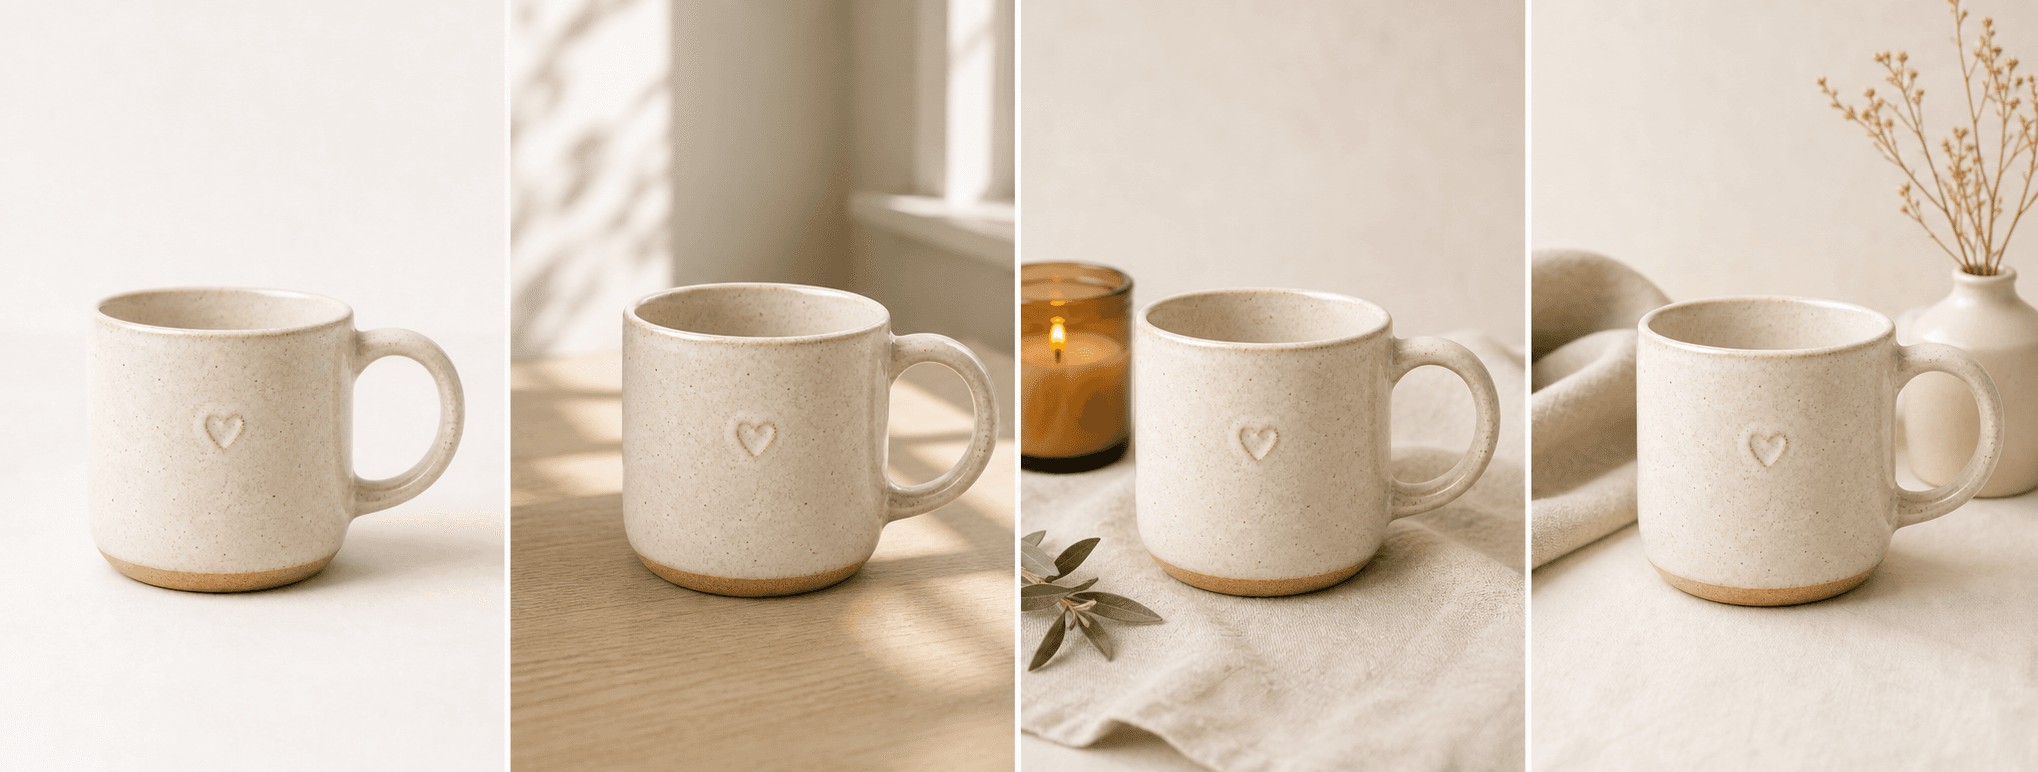
You can start with a phone or camera, a large window, white foam board or paper, a stable tripod or improvised support, and a clean table. The goal is not a dramatic campaign image. It is a sharp, color-accurate source photo that shows the complete product without distracting shadows or clutter.
Once the setup is repeatable, capture a consistent hero, side views, detail, scale, packaging, and use context. A reliable source photo can also support careful AI scene generation, as long as every output is compared with the real product.
Platform rules and interfaces can change. Use the linked primary sources as the final authority, then test the result in the marketplace or storefront you actually use.
A five-minute home studio
Use a window, a sweep, and one reflector.
Place a table beside a large window where the light is bright but indirect. Curve white paper or poster board from the table up the wall to create a seamless sweep. Put a white foam board opposite the window to reflect light into the shadow side.
Turn off mixed indoor lighting if it creates orange or green color casts. Move the table or diffuse harsh sun with a sheer curtain. Small changes in distance often improve the light more than buying extra equipment.
- Large indirect window light
- White paper, poster board, or foam board
- Stable phone tripod or fixed support
- Clean lens and uncluttered work surface
Sharp and truthful capture
Lock the camera and expose for the product.
Clean the lens, stabilize the phone, tap the product to focus, and avoid digital zoom. Move the camera physically instead. Use the primary rear camera when possible and leave enough space around the item for later crops.
Photograph a consistent angle and height across related products. Check color, label readability, edges, reflective surfaces, and depth of field before moving the setup. Reshooting one frame now is easier than repairing a catalog later.
- Use the main rear camera, not digital zoom
- Keep verticals and product geometry natural
- Expose for highlights on reflective packaging
- Capture a sharp real hero before creative variations
Catalog consistency
Mark the setup so tomorrow matches today.
Use tape marks for the table, tripod, product center, and reflector. Record the time of day, camera height, distance, and any exposure adjustment. A consistent imperfect setup usually creates a more credible catalog than a different dramatic style for every item.
Edit lightly: straighten, crop, correct exposure and white balance, remove temporary dust, and export for the channel. Do not erase permanent defects or change the item in a way that misrepresents what buyers receive.
For a dependable AI source image, show one complete item against a simple background with readable edges, labels, color, and construction details.
Before you publish
Home product photography checklist
Run the same checklist before dismantling the setup.
- The lens, product, background, and work surface are clean.
- The light is soft, even, and free from mixed color casts.
- The camera is stable and digital zoom is disabled.
- The complete product, edges, label, color, and important details are sharp.
- The framing leaves enough space for catalog and mobile crops.
- Hero, detail, scale, packaging, and relevant side views were captured.
Primary references