Practical AI workflow · reviewed August 6, 2026
Use AI for product photos without losing customer trust.
Start from a clear real image, generate one purposeful set, and treat visual review as part of production—not an optional final glance.
Quick answer
How do you use AI for product photography?
Photograph one real product clearly, choose the job each new image must perform, generate a small set, and compare every result against the source at full size. Keep accurate real-product images in the gallery, use AI scenes as reviewed supporting assets, and export separate files for each marketplace, store, or social crop.
The safest workflow does not ask AI to invent missing product evidence. It supplies a readable source image, limits the creative goal, checks the output systematically, and rejects any result that changes the item customers will receive.
Platform rules and interfaces can change. Use the linked primary sources as the final authority, then test the result in the marketplace or storefront you actually use.
Step 1
Capture a source photo that functions as evidence.
Use one product, soft neutral light, a simple background, and enough resolution to inspect small details. Keep the complete silhouette visible and avoid hands, props, or reflections that merge with the product edge.
Photograph important labels, materials, closures, hardware, and textures clearly. If a detail is invisible in the source, a generated scene cannot be trusted to reconstruct it accurately.
- One complete product
- Readable logos and labels
- Neutral color and controlled highlights
- No overlapping objects or extreme perspective
Step 2
Generate for a specific image job.
Define whether the output is a clean supporting image, lifestyle scene, material-detail composition, gifting image, campaign crop, or social asset. A narrow job is easier to evaluate than a vague request for a “better photo.”
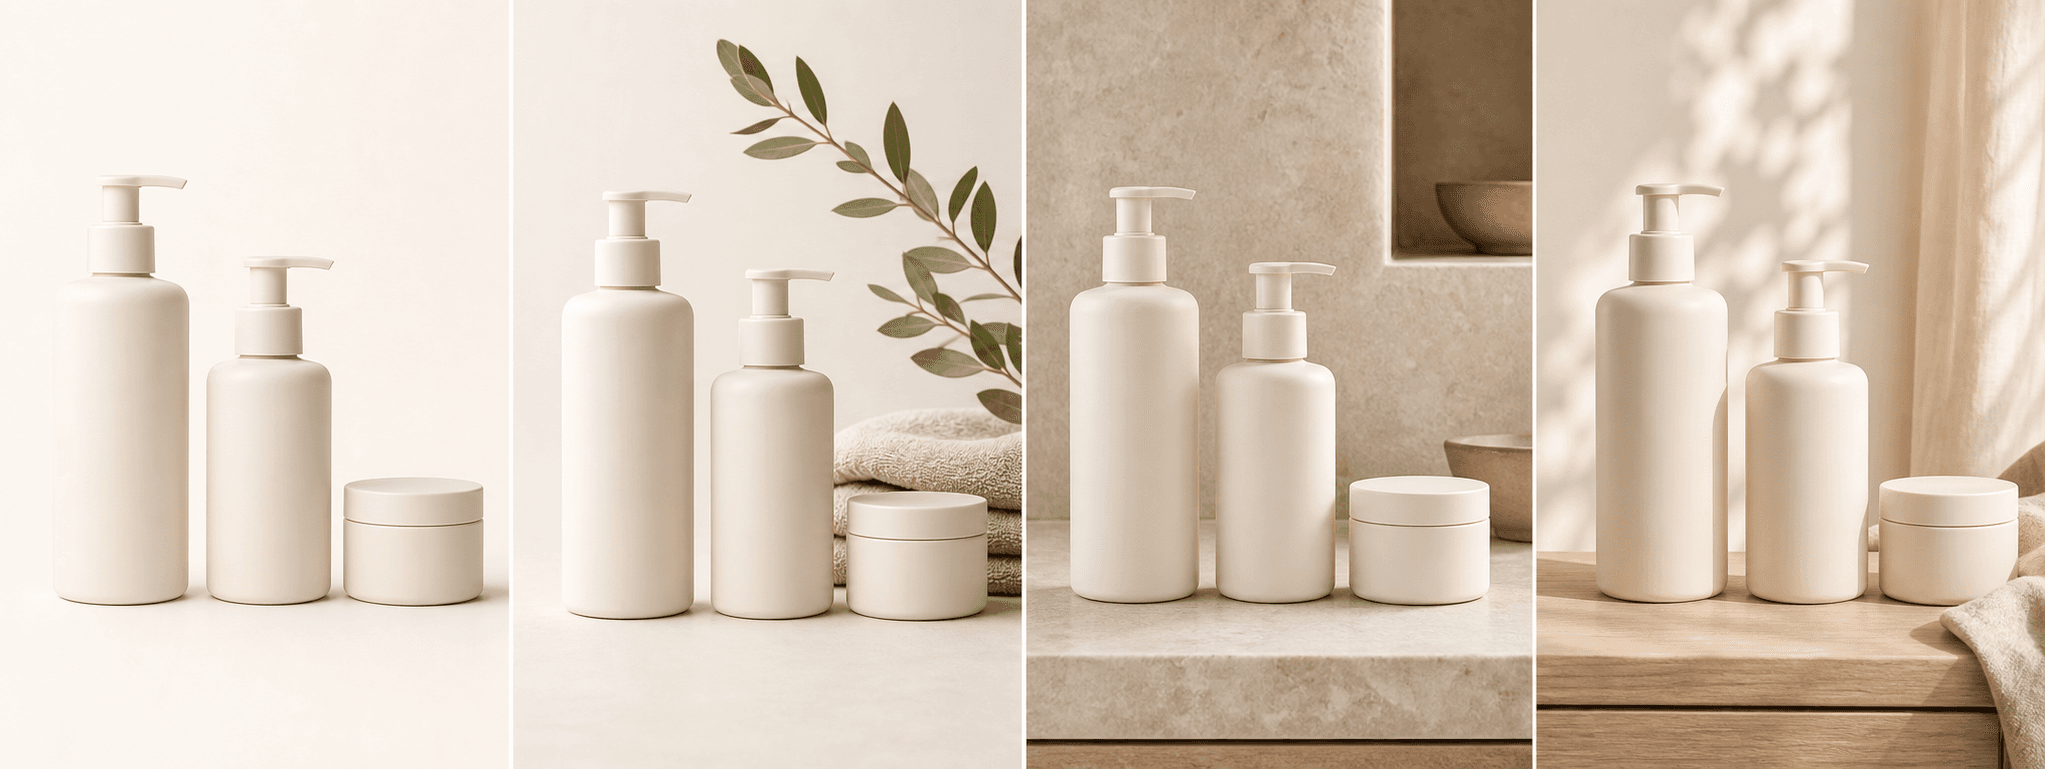
Start with a small set. ShopPhoto AI uses four predefined directions so a seller can compare different merchandising roles without writing prompts or producing dozens of nearly identical images.
- Clean product context
- Natural lifestyle setting
- Detail-led composition
- Gift-ready presentation
Step 3
Inspect product fidelity before aesthetics.
Zoom in and compare the source and generated image side by side. Check geometry first, then text, color, materials, reflections, shadows, and the number of components. A beautiful scene with a false closure, altered logo, or missing part is not publishable.
Finally test the crop and compression inside the actual sales channel. Keep the clearest factual image early in the gallery and use generated scenes only where they add accurate context.
Reject an attractive image when it changes a fact about the item. Conversion gains are not worth a misleading listing or preventable return.
Before you publish
AI product photography publishing checklist
Complete this review for every image, not only the first generation.
- The product shape, quantity, color, material, and proportions match the source.
- Logos, labels, typography, hardware, and closures are correct.
- The scene does not imply false size, ingredients, accessories, or product claims.
- The crop works on mobile and leaves important details visible.
- Alt text describes the published image without keyword stuffing.
- The gallery still includes truthful real-product evidence.
Primary references